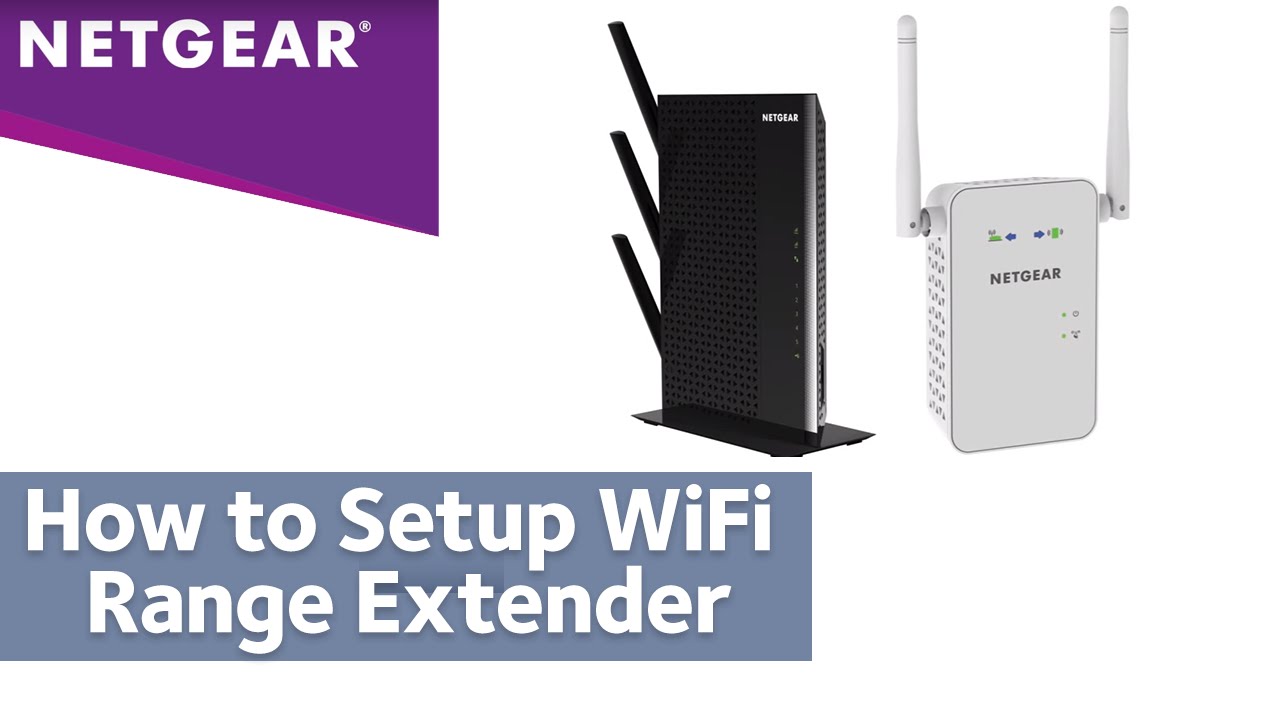
The role of the Netgear Extender is to expand the Wi-Fi connection strength by connecting to the existing network present in your house or office premises. There are certain guidelines that you need to follow if you want to set up the extender appropriately for efficient results. For most of the new devices, the experts recommend the installation of the Nighthawk application to which the Netgear extender will connect to. For all the other older generation devices, the Netgear Extender setup process is quite different.

In this article, you will know about the detailed way of setting up the Netgear Extender to your house Wi-Fi.
Steps to follow for setting up the Netgear Extender
Here are the detailed steps that you need to follow for successfully installing or setting up the Netgear Extender:
- Firstly, consider plugging in the extender to the power source. Soon after which the LED lights will glow. If the power LED light is off, then you need to turn it ON manually from the given buttons on the device.
- Secondly, you need to connect your mobile device or computer to the Wi-Fi network of the extender. The default name of the Netgear extender is NETGEAR_EXT. You need to connect to it and then enter the default password when prompted. Some of the extenders do not come with a password, but if it prompts, then you must enter ‘password’ in the dialog box.
- Thirdly, you need to make sure that the internet connection is enabled from the router without which the extender will prompt that there is no internet connection.
- After you have successfully connected your device to the extender, now you need to commence with the further setup process. Log on to a web browser over PC or mobile and enter mywifiext.net in the address bar. This is also known as mywifiext Setup for extenders. Soon after you do that, the setup page for the Netgear Extender will come up on the screen.
- Select New Extender Setup option from the given tabs and then accept the terms and conditions that will come up on the screen. Now, you might be prompted to choose your admin credentials to gain access to the settings of the extender. For easy remembering, give the username as ADMIN and give a different password to your home Wi-Fi network.
- After you do that, you will be asked a few security questions that will help you change or modify your credentials in the future, in case you forget them. Click on Next, and then you will be prompted to use NETGEAR Genie for the further process.
- Choose your network options from the list, such as 2.44GHz or 5 GHz. Enter the password and then go to the next step. You will see the default extender names on your screen.
- If the Netgear Extender is a mesh, then it can have the same name and password as that of your house Wi-Fi network. But not all the extenders support this feature.
- After these processes are over, the extender then applies the settings you just chose, and it will possibly take a few minutes to complete the application process. Take note of the name and password that will pop up on the screen for the different extender bands.
- Return to the web browser, and you will receive a checkbox to give permission to expand network coverage. Click on Continue and your extender will start to expand your Wi-Fi network’s range and coverage.
These are a few of the things that you need to consider when you are planning on setting up the Netgear Extender for expanding the range and speed of your Wi-Fi network.
